How to change the bulbs on a Goblin D21 and D25 teasmade
In this post our technical expert Doug explains how to change the light bulbs on a Goblin D21 Teasmade.

I'm handing over to our techical expert Doug, who will explain how to change the light bulbs on a Goblin D21 and D25 Teasmade.
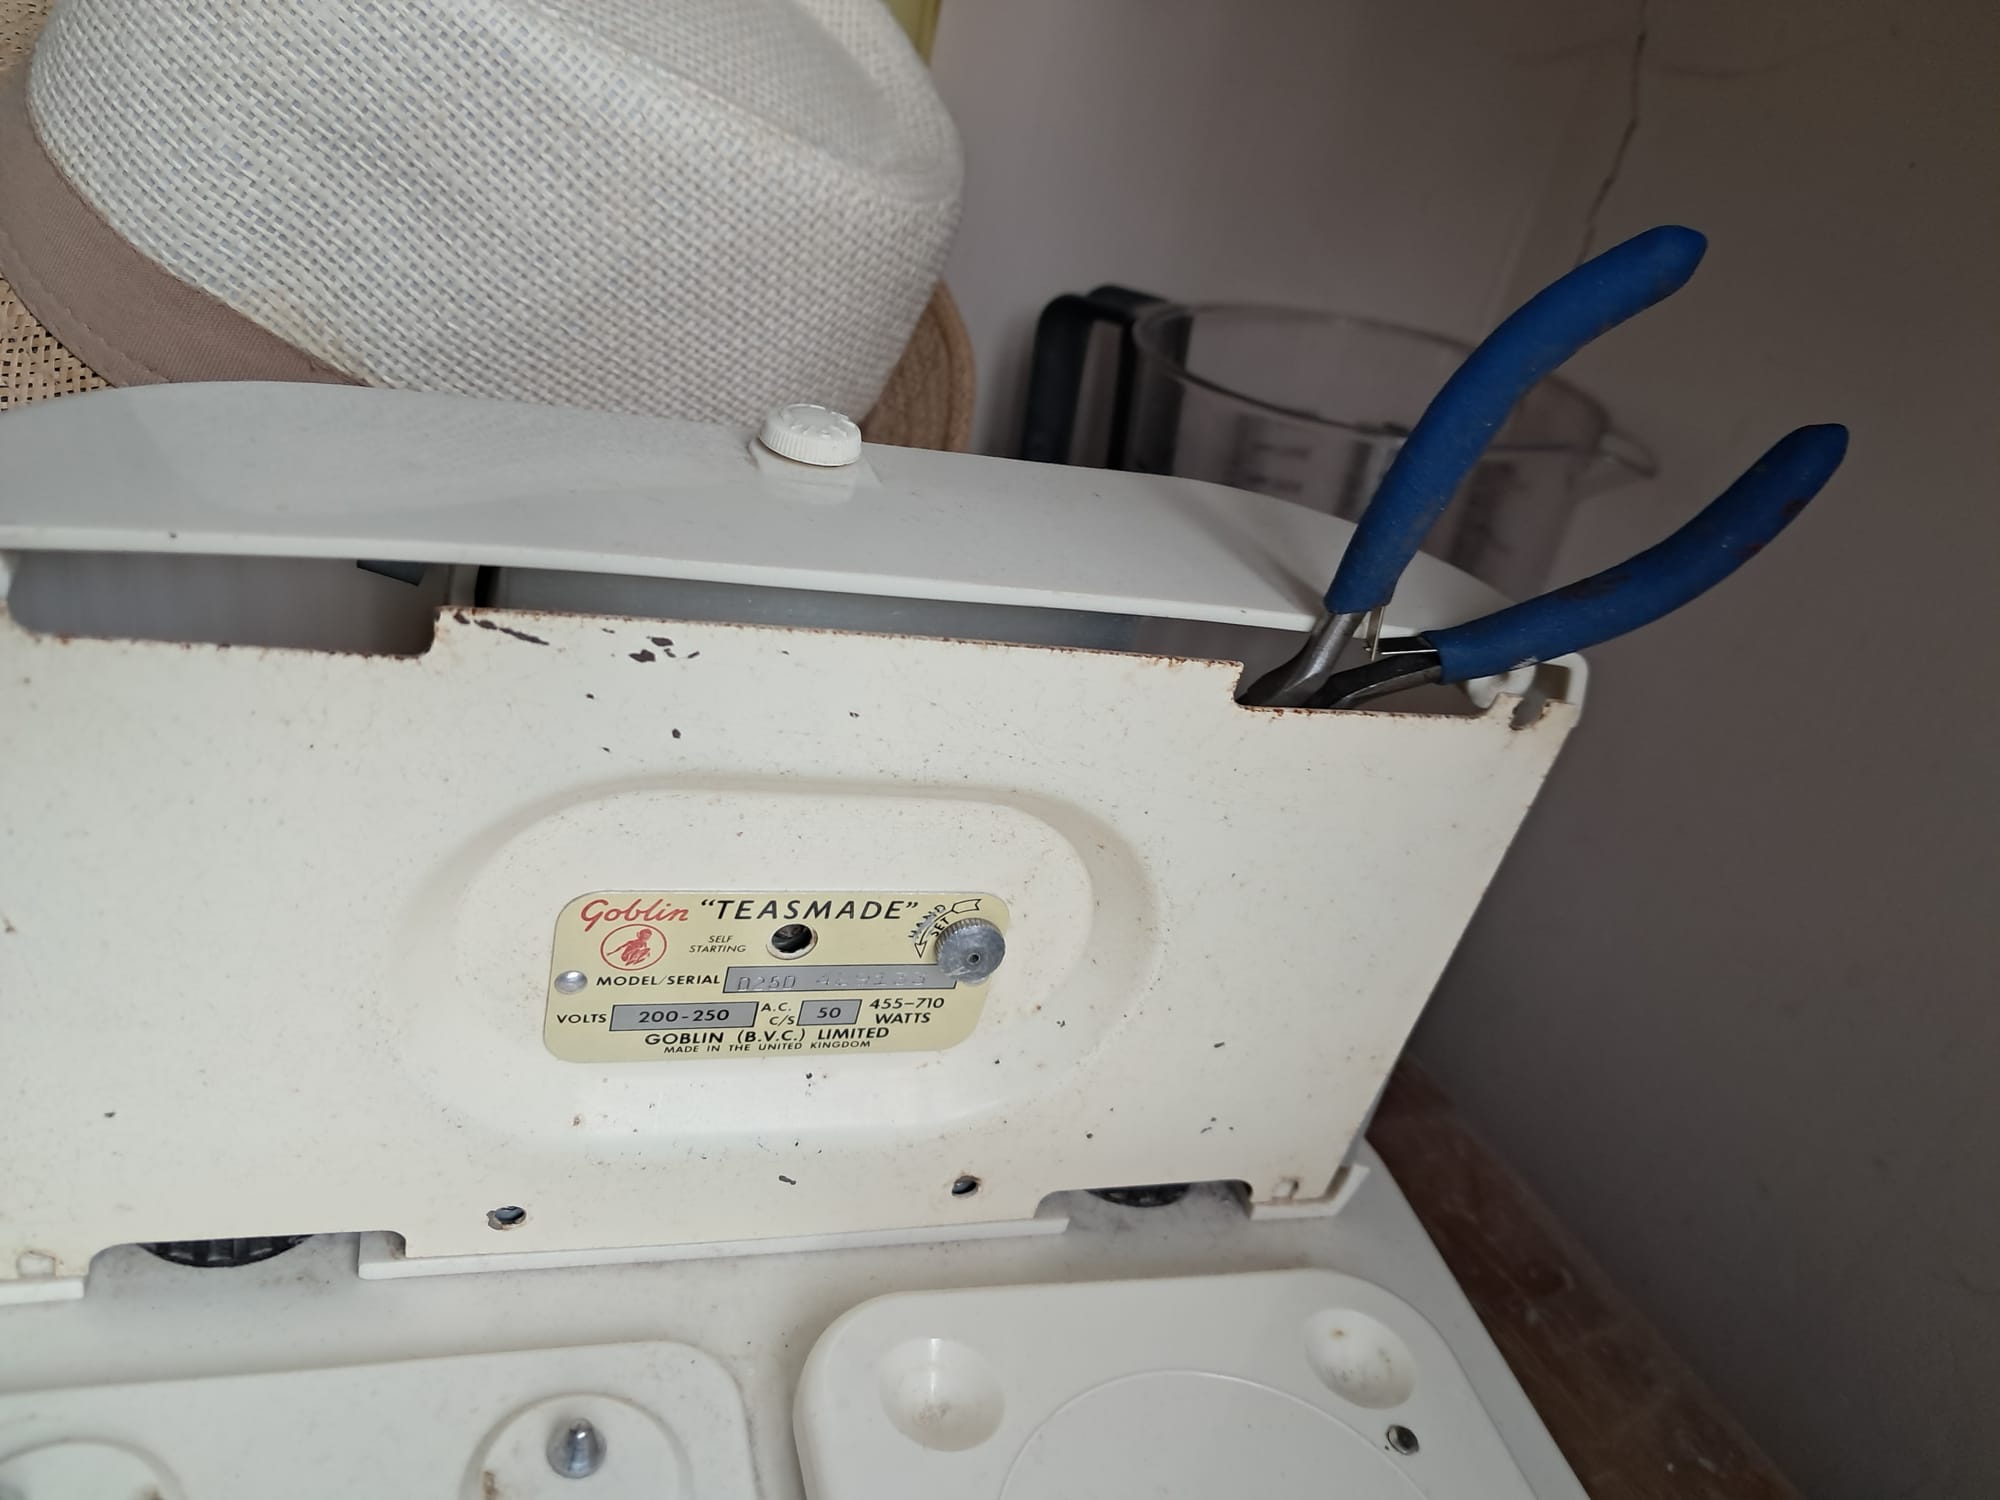
- First remove the two hand adjuster knobs. They are on a left hand thread so unscrew by turning sharply to the right (as you would normally screw on).
- Removing the back to change the bulb and the clock adjuster knob would not unscrew when given a sharp turn to the right. So I had to undo all the screws, get a pair of thin long nose pliers and reach inside to grip the shaft and gently turn the knob to the right. I know this sometimes baffles owners so this is what to do. It was not necessary to disconnect from mains as all electrical connections are in the base.

- Keep all the fittings safe in a small tray.
- Remove the two retaining circular nuts using small pilers and put them in the tray.
- Now unscrew the two wood screws and washers on either side and put those in the tray also.
- You should now have six fittings in the tray,
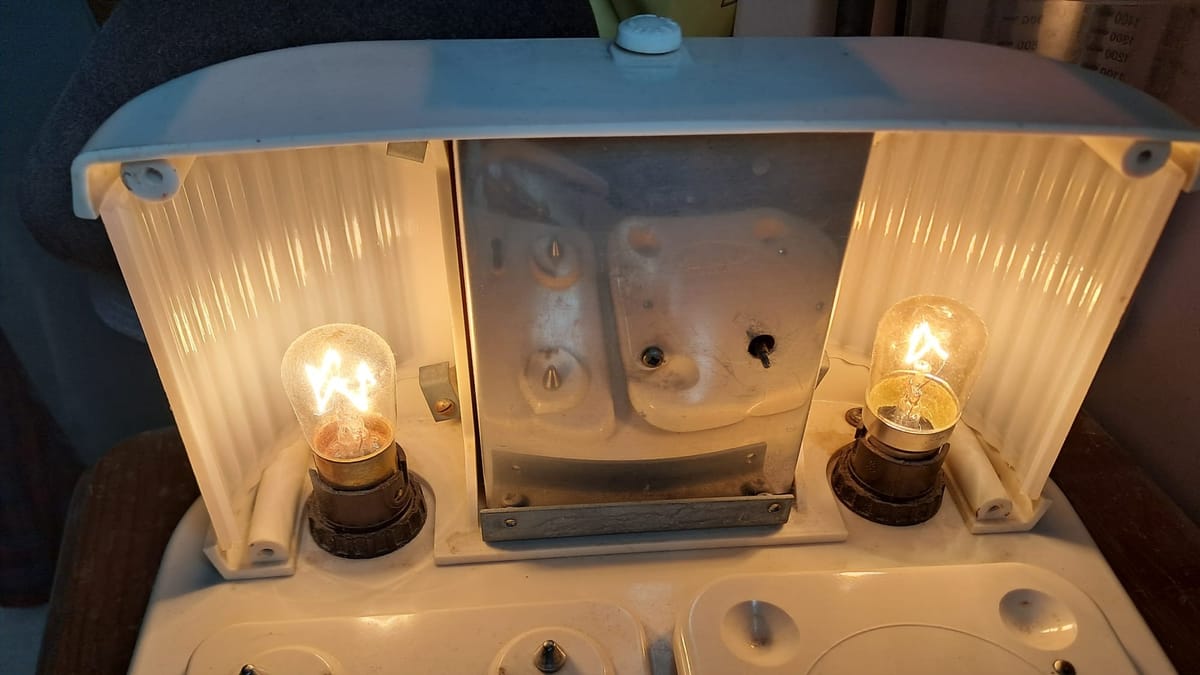
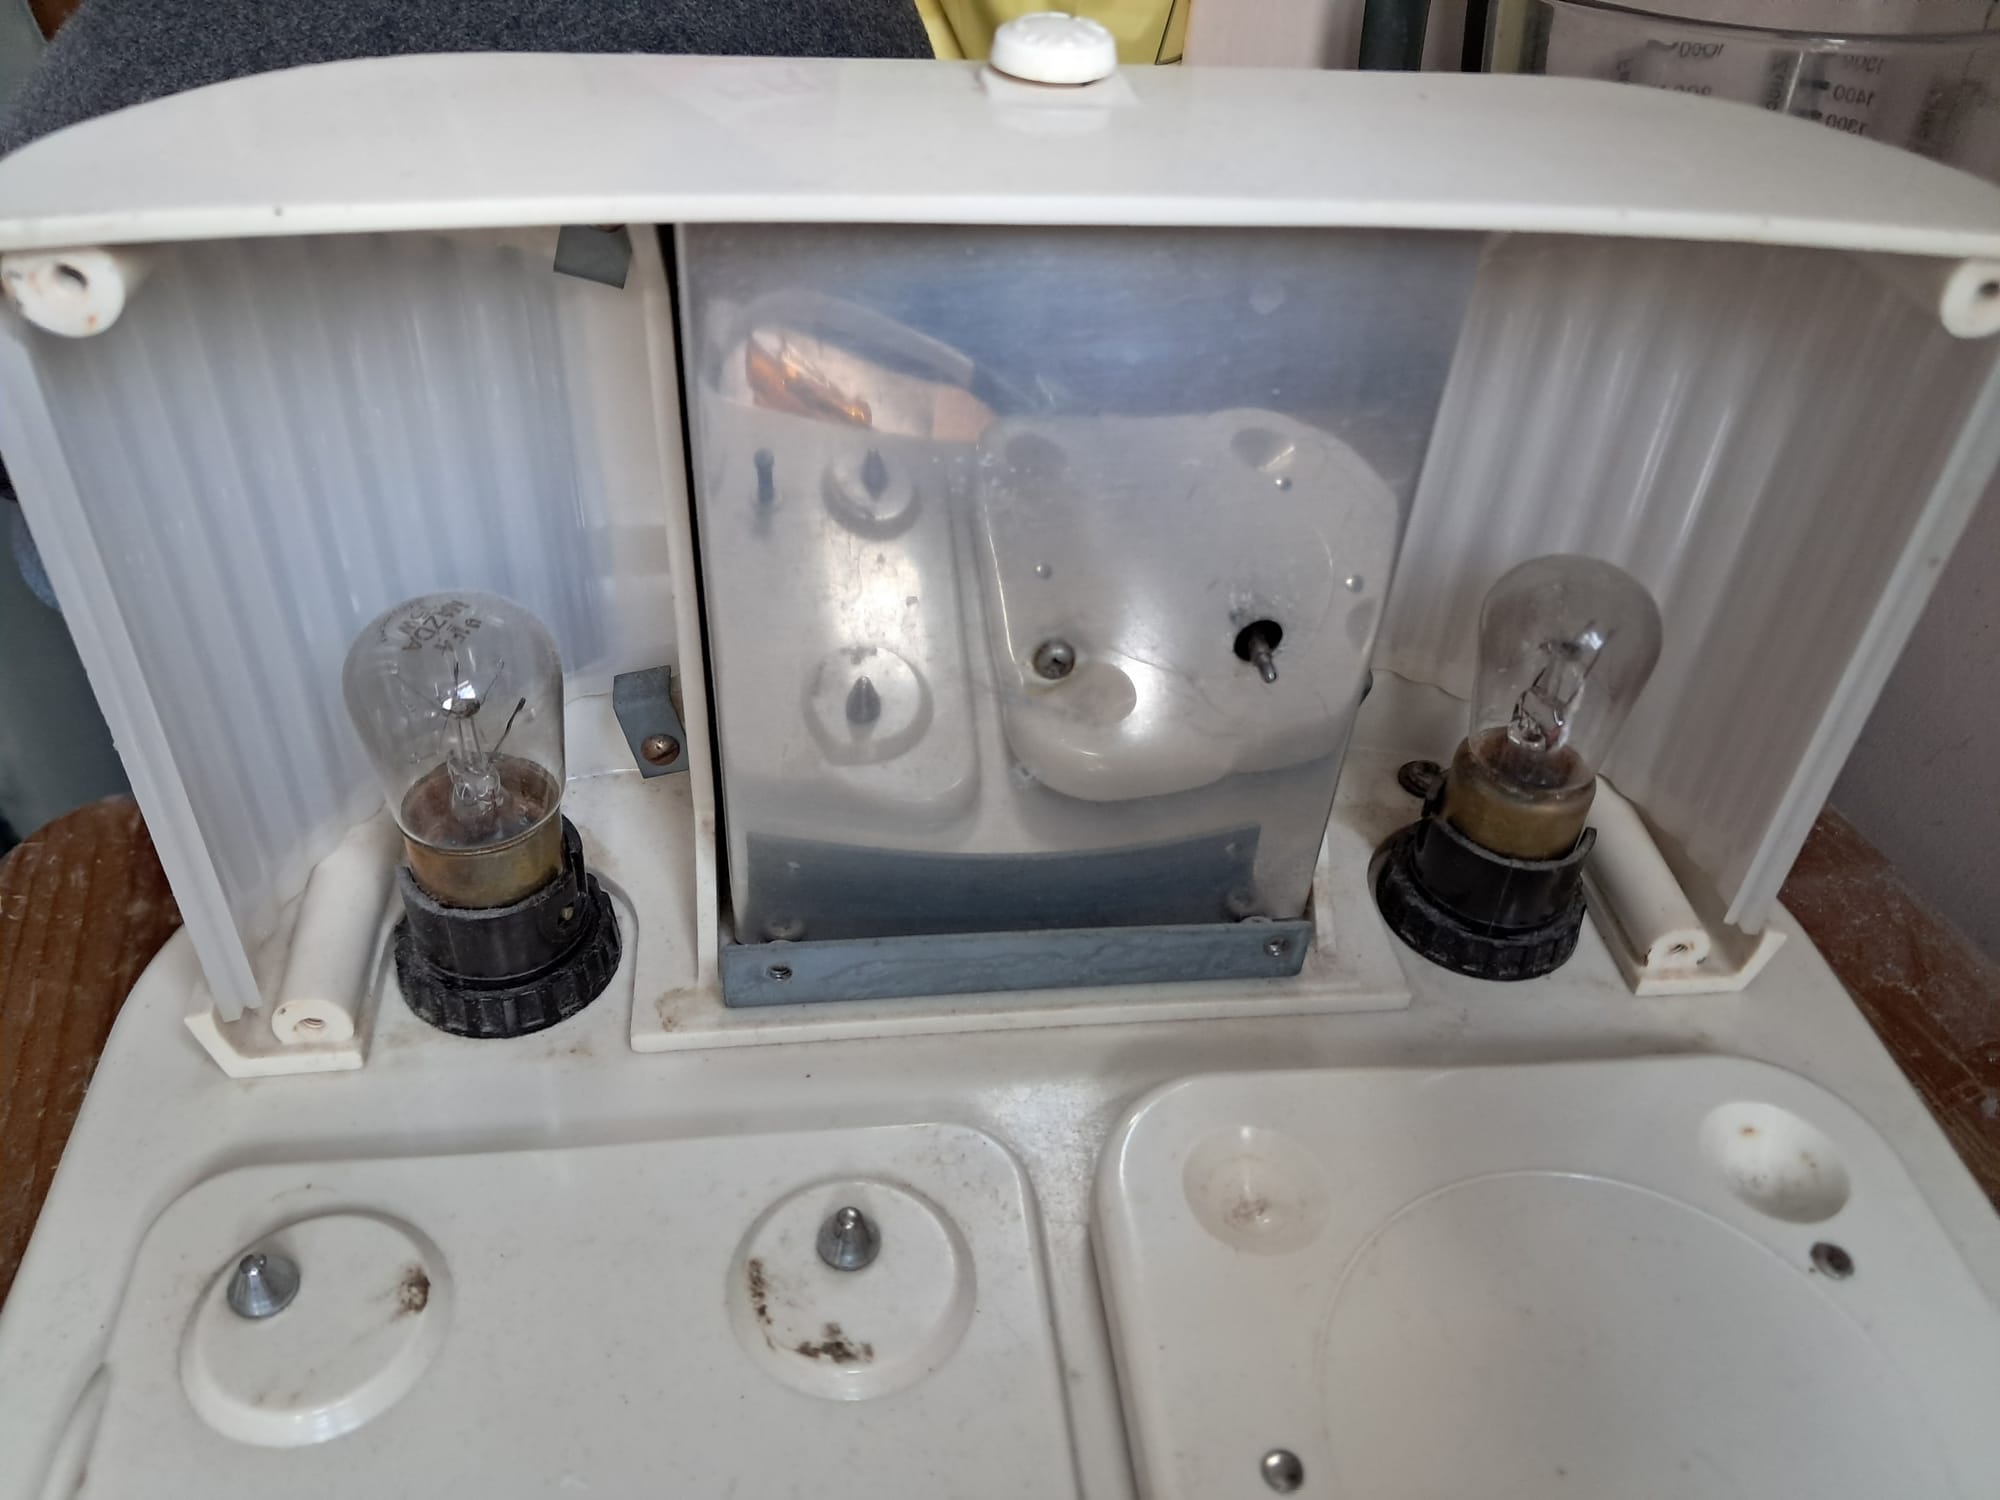
- The back plate will now lift off to reveal the two light bulbs. These are 240v, 15w, pygmy lamps. They are still available from good electrical stores.

- Change the bulb by depressing and turning to the left.
- Plug the unit in and try the bulb to make sure it works before re-fitting the back plate.
- Fit the two adjuster knobs first to hold the plate in place, then the two retaining nuts then the two wood screws and washers.
The job is done and should last for years.
