How to test the coil on a large brass clock motor
One of our website visitors was alarmed (hehe!) to find that his teasmade clock had stopped. Here Doug shows us how to test the coil.
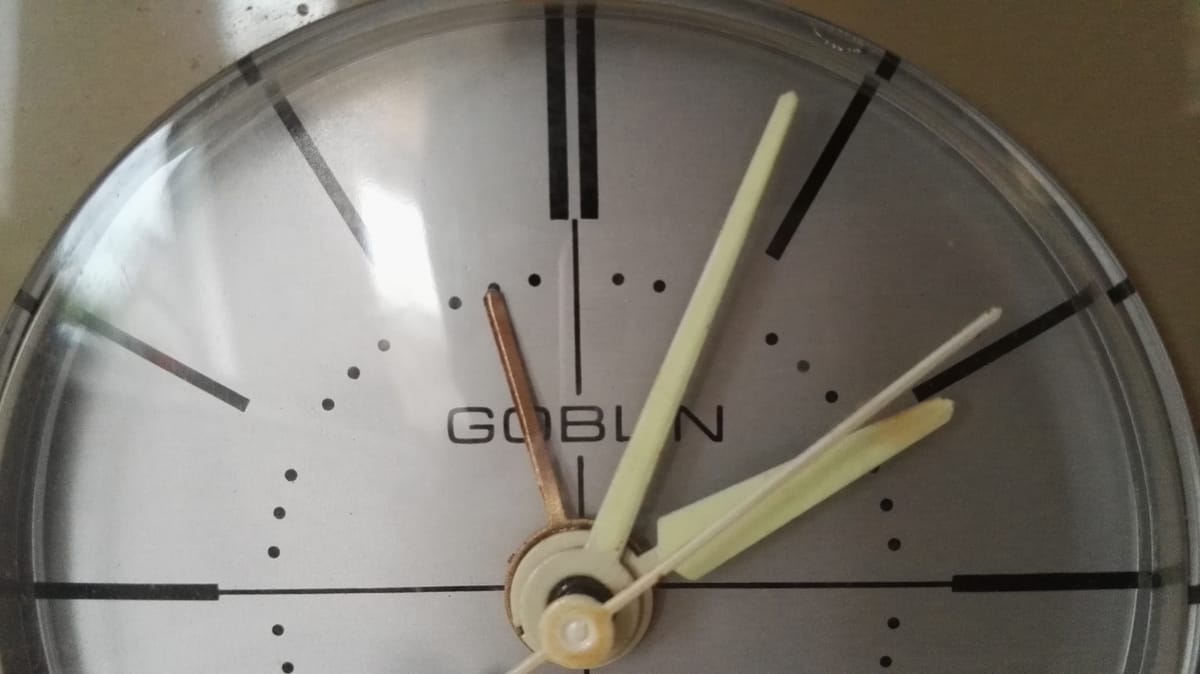
One of our website visitors was alarmed (hehe!) to find that his teasmade clock had stopped. He said: "All electrics are tested OK. Motor is not spinning but moves easily on the spindle so not jammed. I can only think the motor itself has failed. The marking on the back is MB03 25 75."
Our team member Doug replied:
Hello Ray, My name is Doug and I answer most technical queries on these pages. The 835c and 843/844 were the last Goblin Teasmades to use the Large Brass Clock Motor.
This is a very robust unit and really over engineered for the task expected of it - to run a clock with time switch. It was used on all the D series from 1947 and the 8 series until 1973. I have many in my collection and I have never known one fail. The only reason would be damp in the coil windings or clock gear train seized.
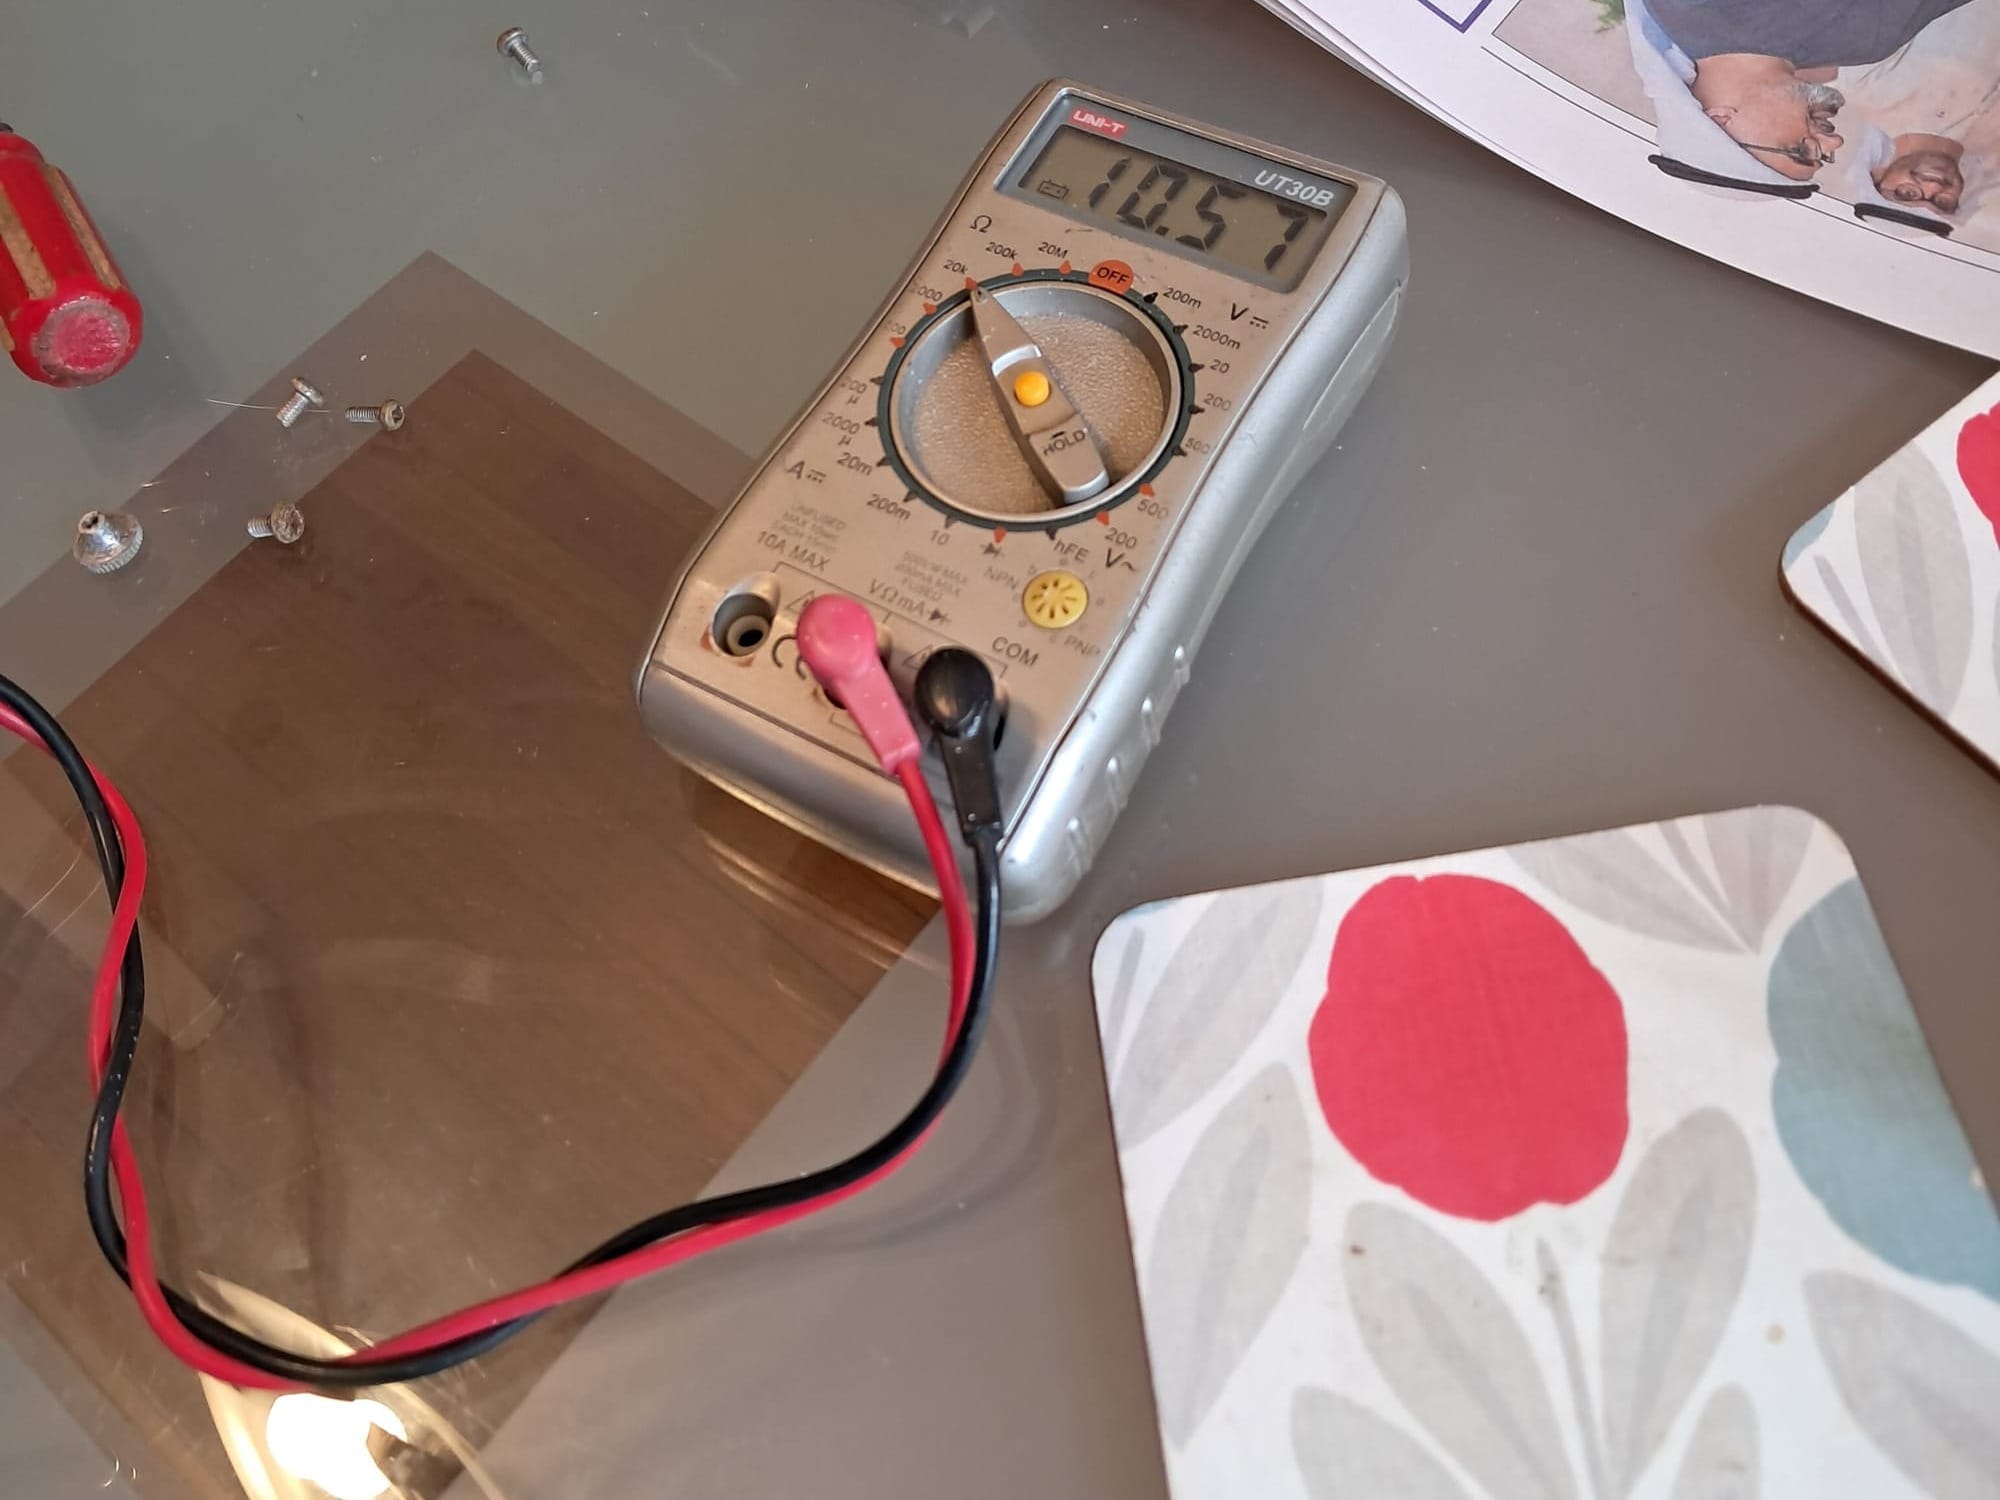
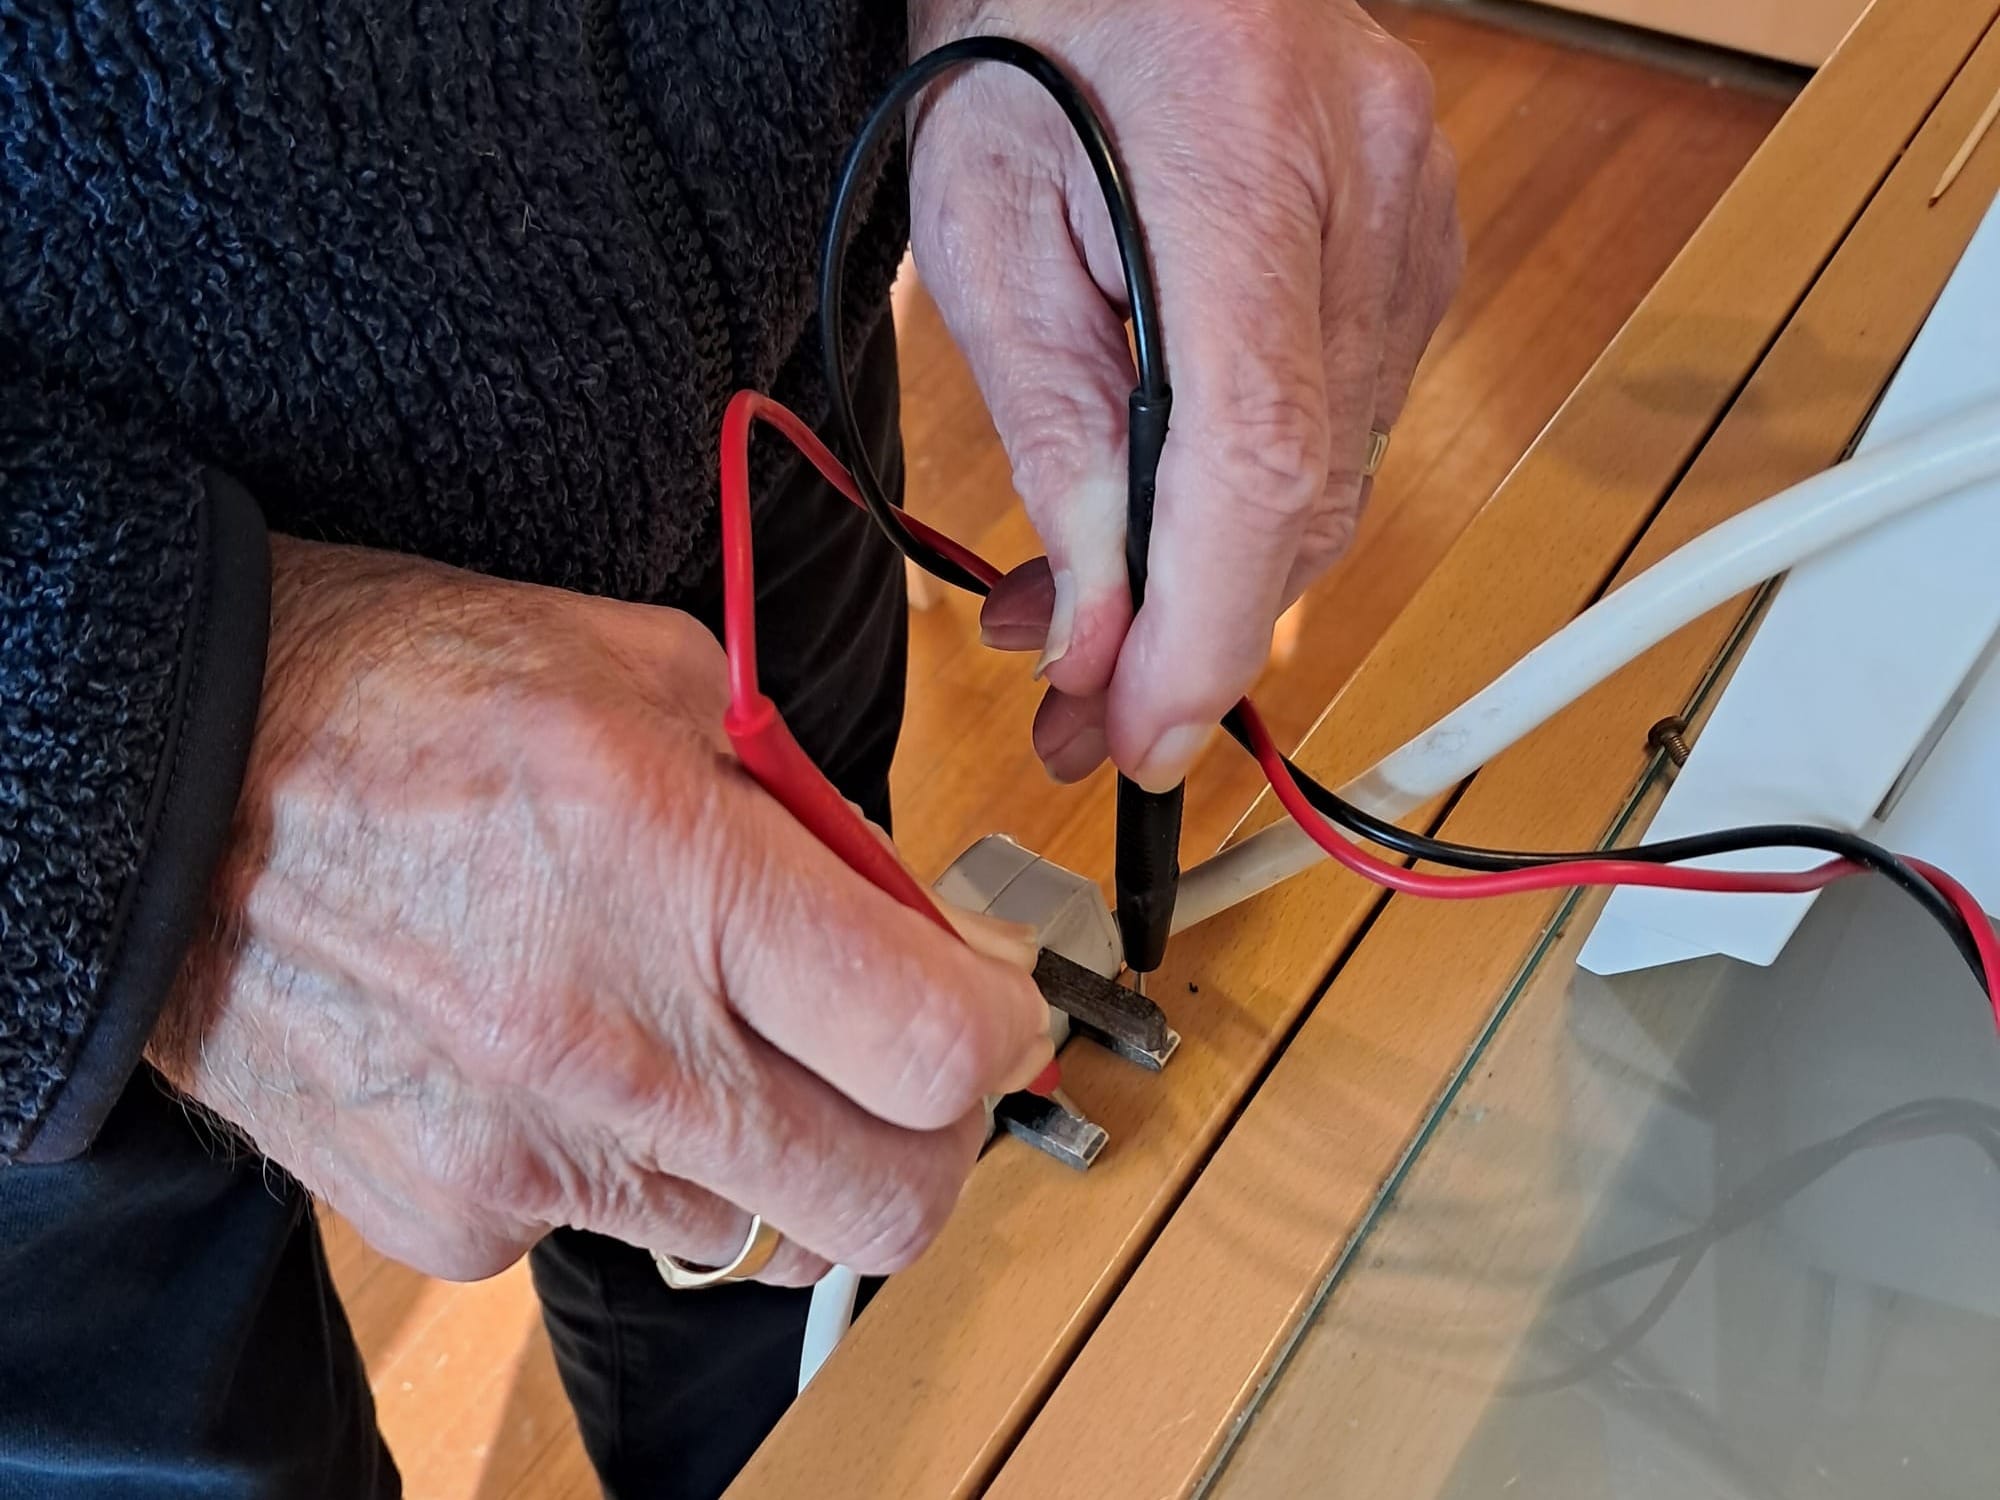
You say 'all electrics tested OK. How? Only a multi meter can determine if the coil is OK and it should read about 9/10k Ohms. This can be confirmed by cleaning the prongs on the 13 amp plug and touching the L & N leads on the meter set to Ohms 20k. Only if the reading remains at 1, 0 or OL is the coil suspect. Make sure of good connections before coming to a conclusion.
If the reading is positive then the coil is OK and needs some TLC. It is a synchronous motor in tune with the UK power turbines running at 3000 rpm. With no resistor in circuit to reduce the voltage, the full 3000 rpm must be reduced to 1 rpm by the clock gear train. The brass gears do not need lubrication but the steel spindles may.
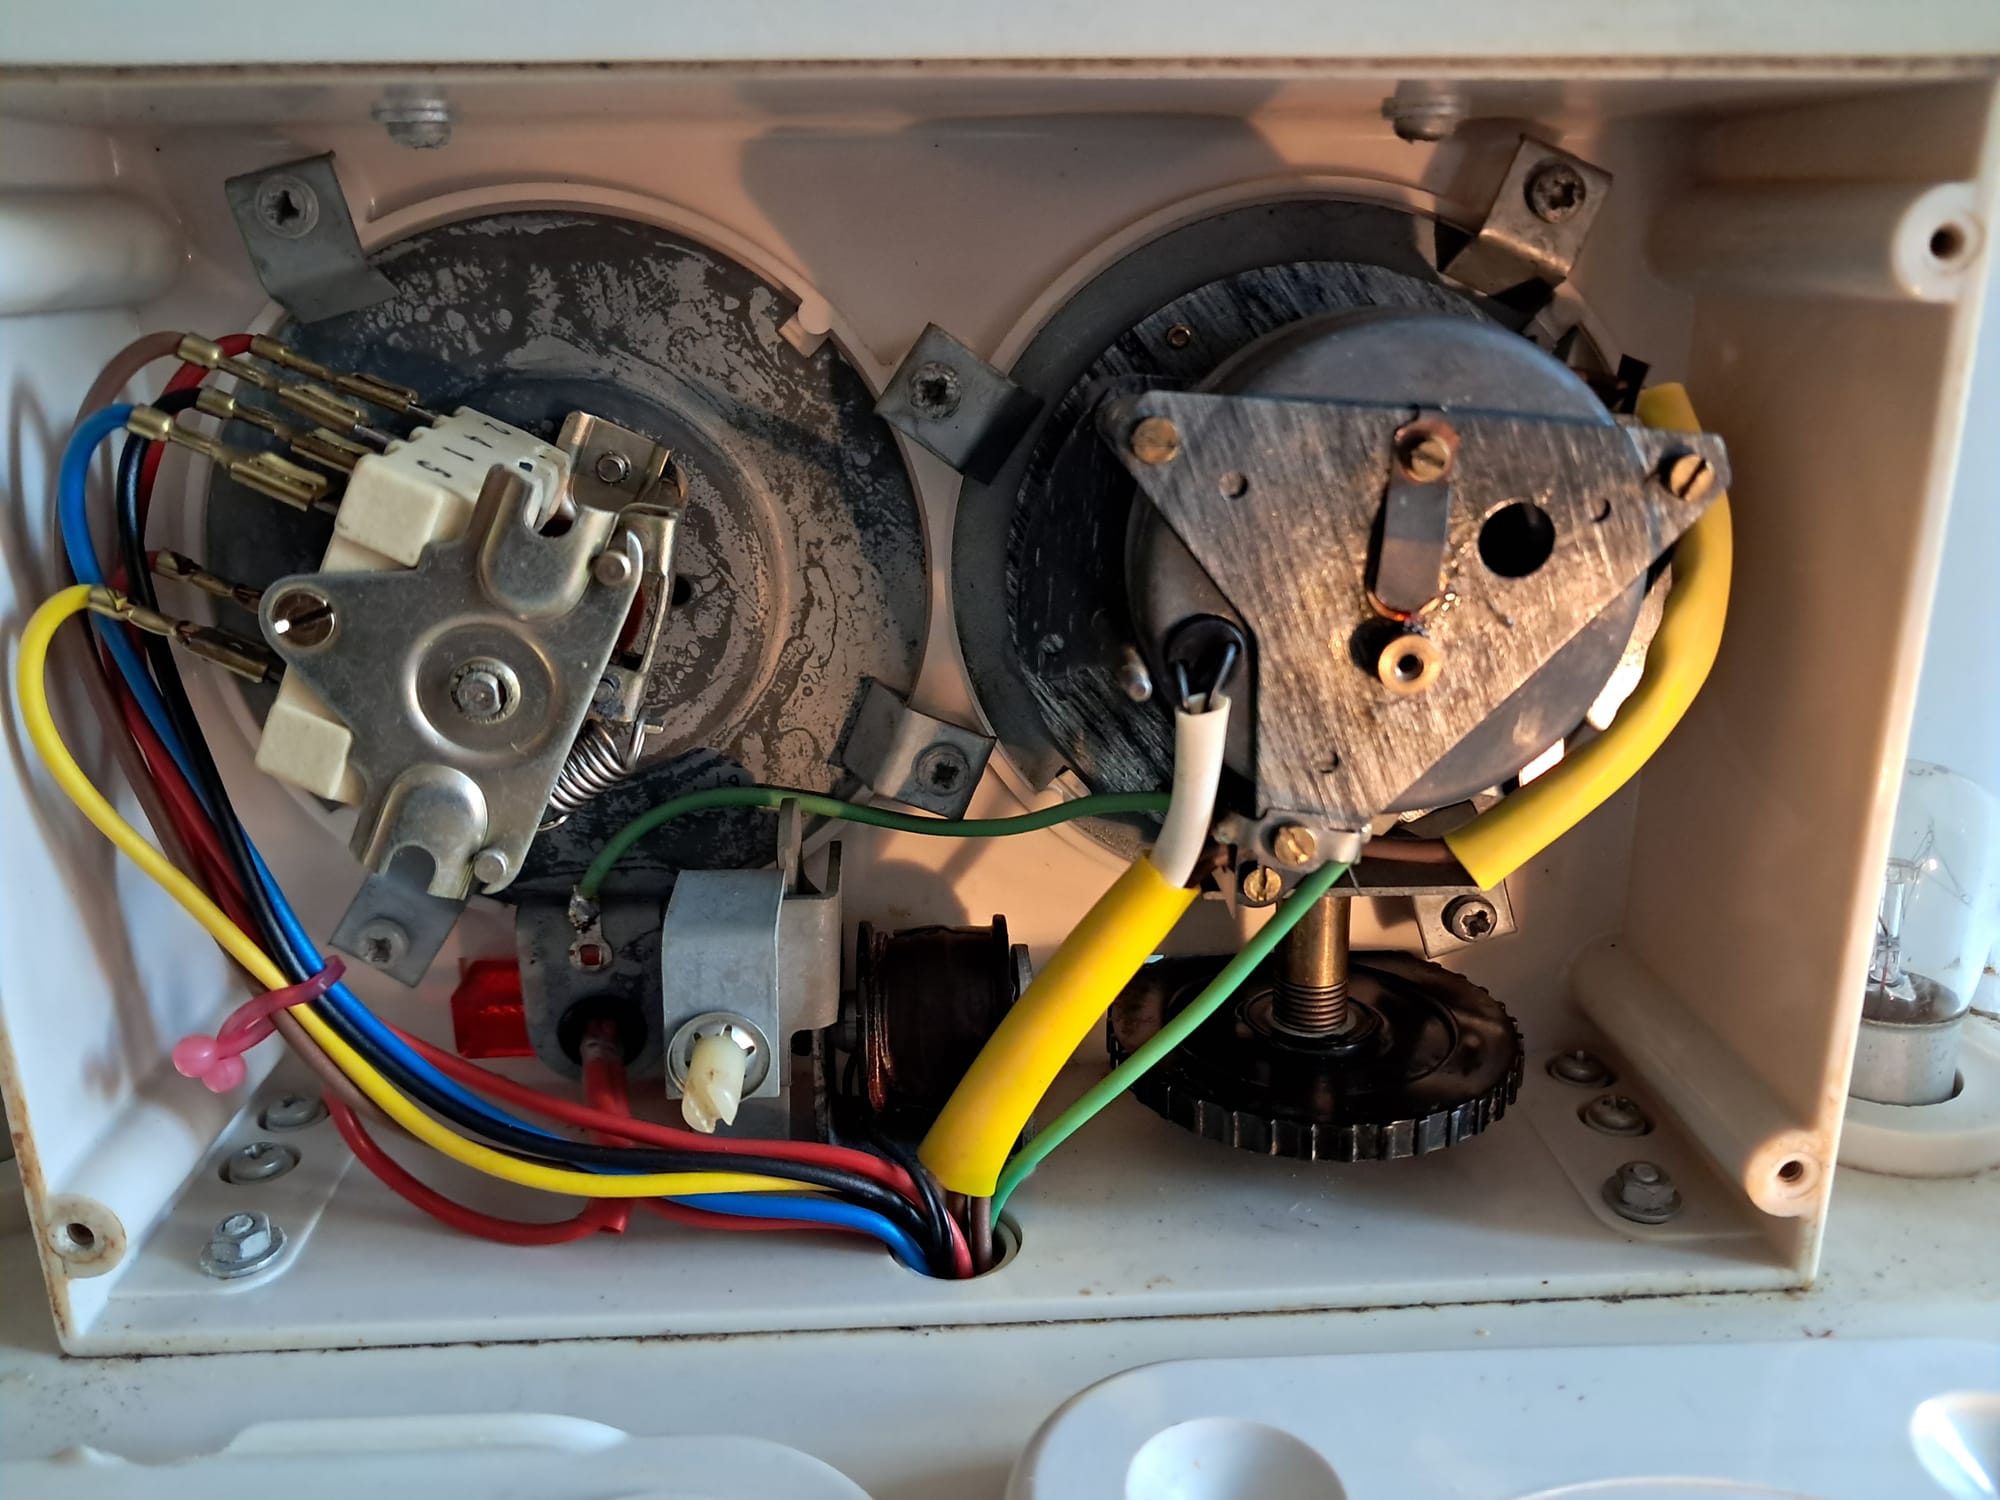
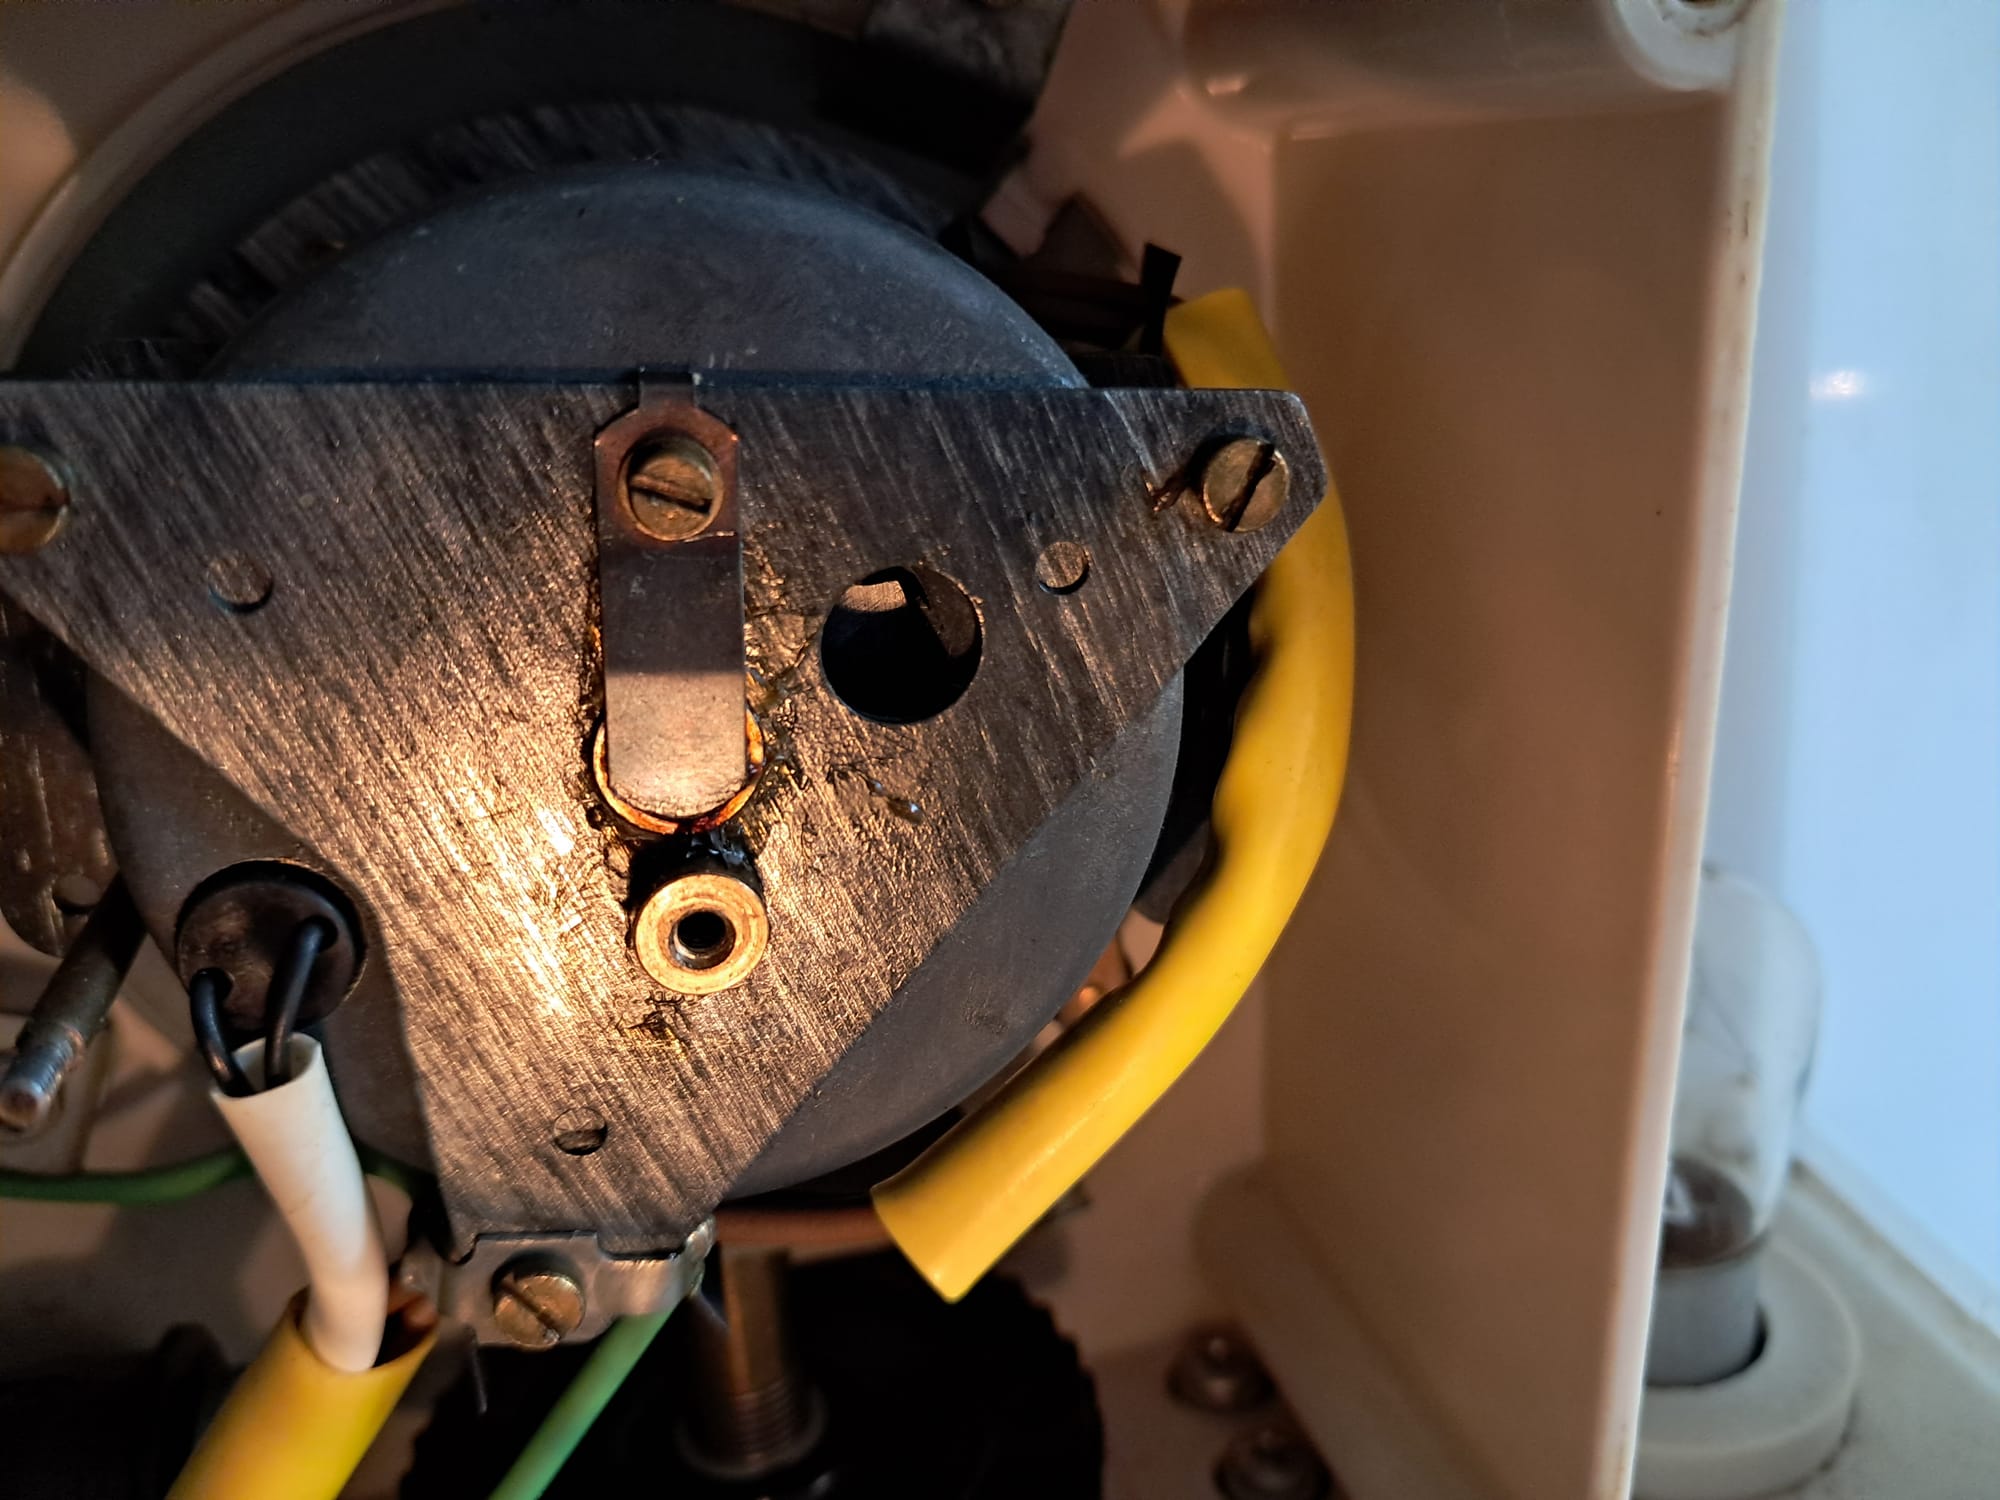
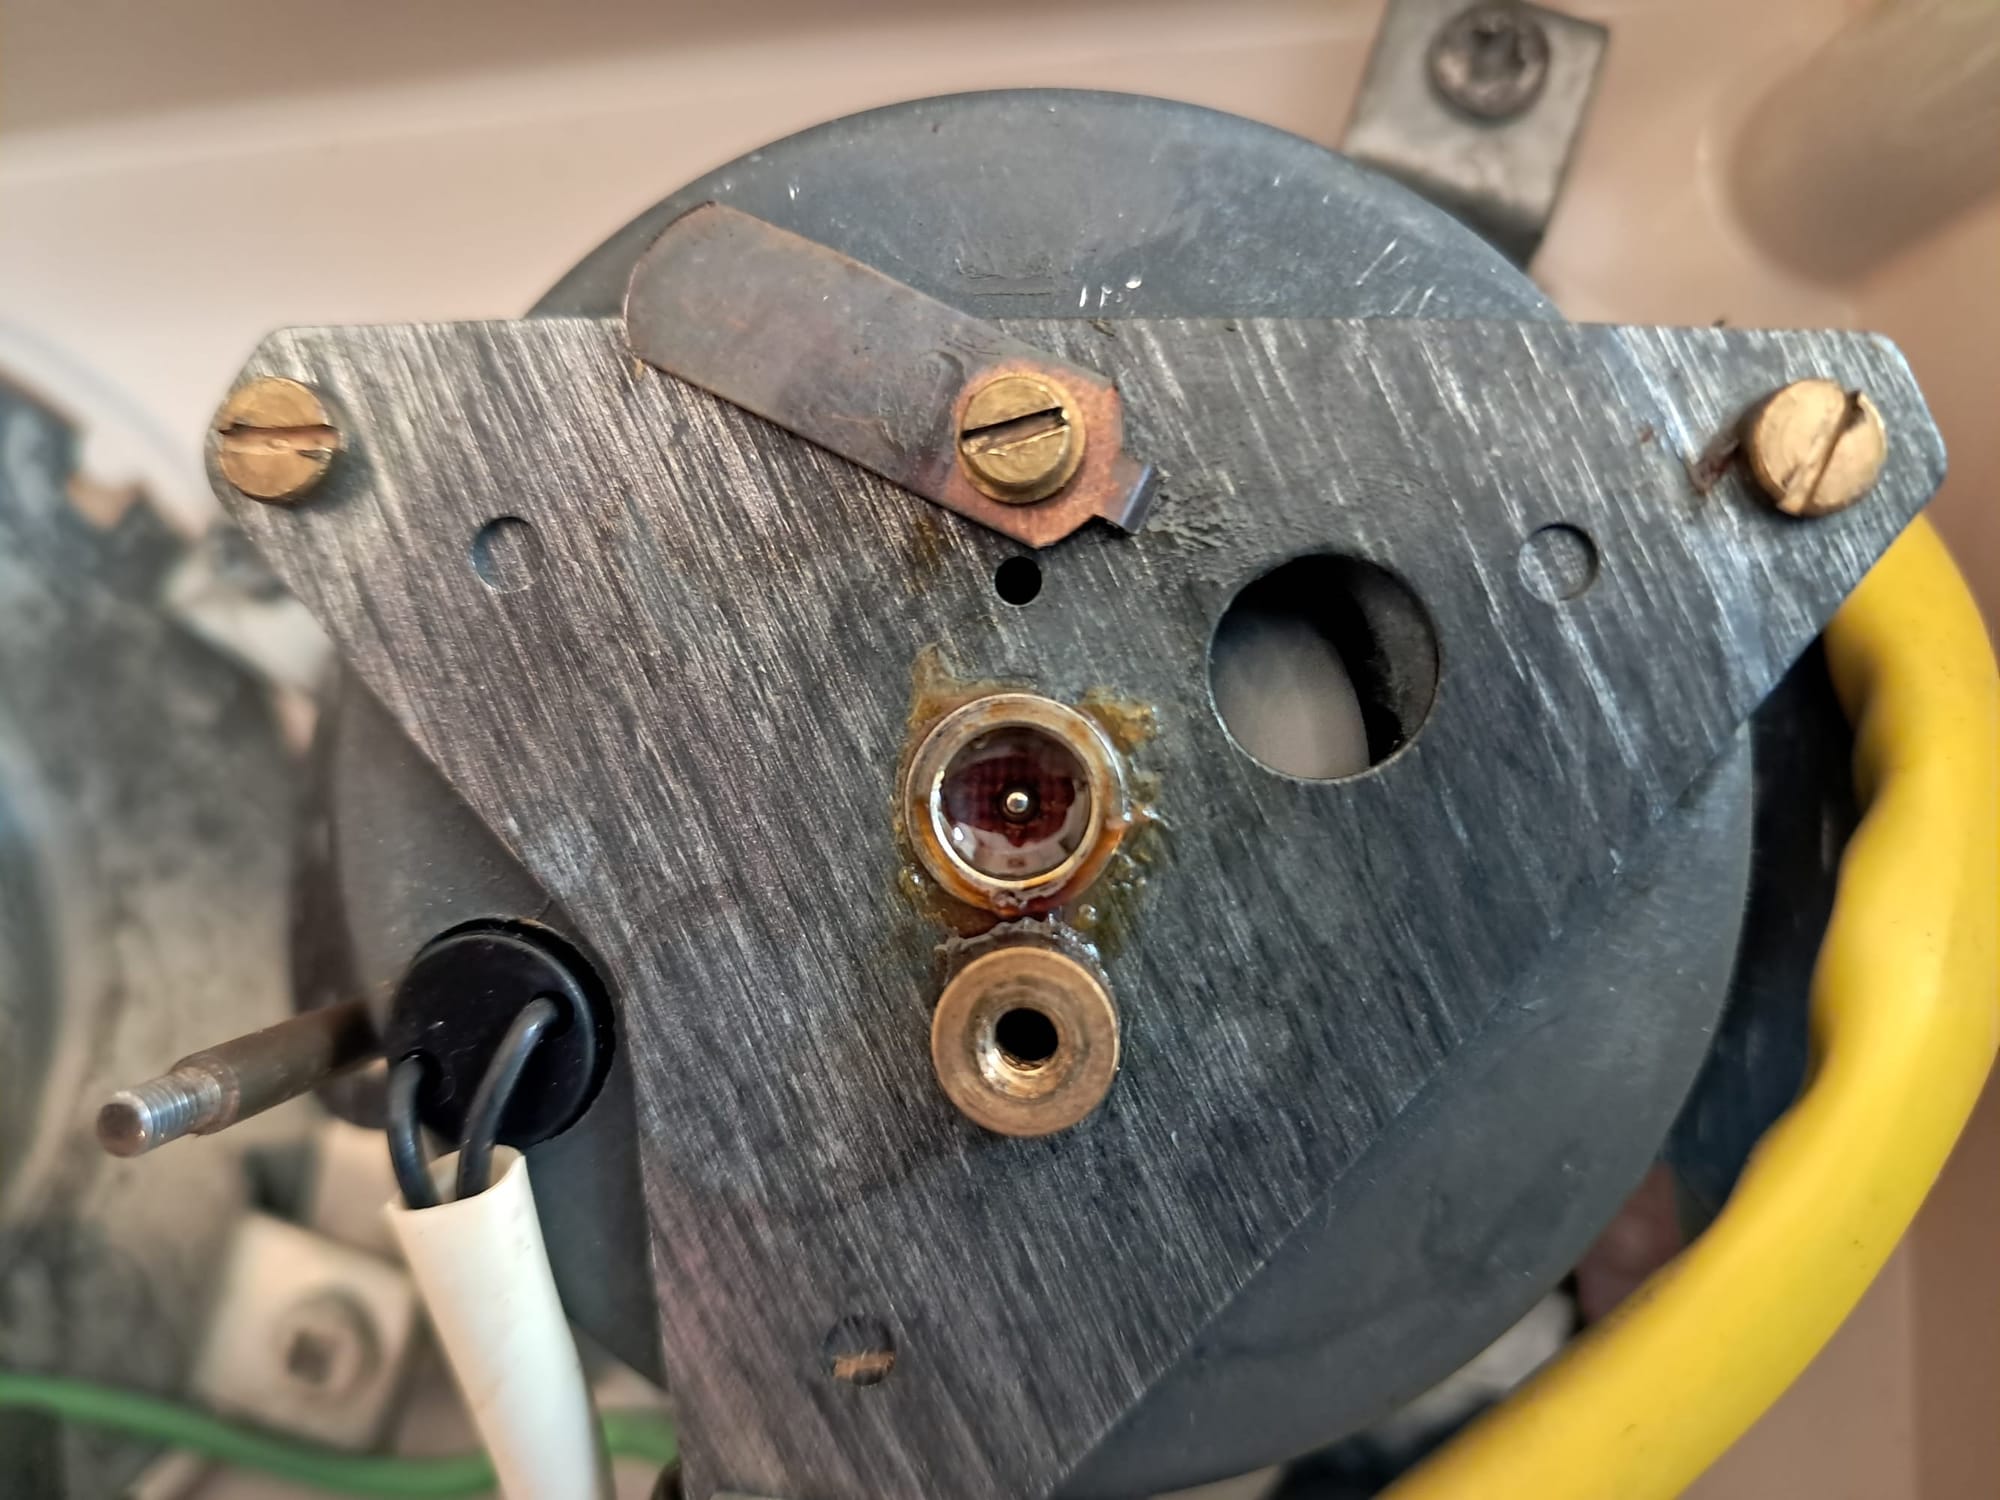
To lubricate the clock drive spindle, dig out any old hard grease and insert a droplet of fine penetrating oil (not WD40). Leave the unit resting on its back and plug in - the rotor can be flicked into life through the inspection hole with a wooden cocktail stick. Leave it running like this for 12 hours before adding another droplet and replacing the lube cover and spring. It normally does the trick.
